


>>This is a DIGITAL DOWNLOAD | No product will be shipped | After checkout you will be provided the link to download your files. <<
File Type: STL and 3MF
3D MODEL DESCRIPTION
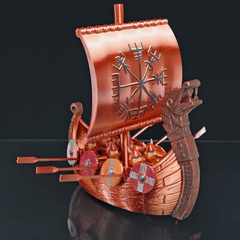
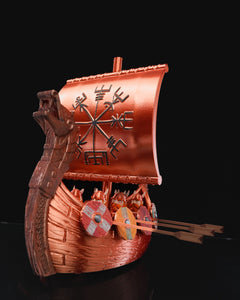
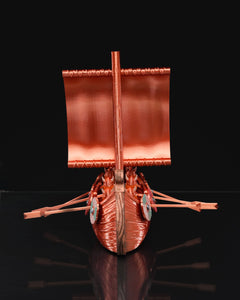
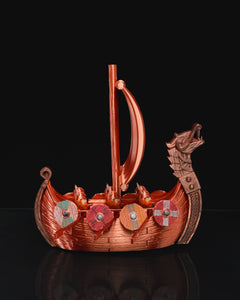
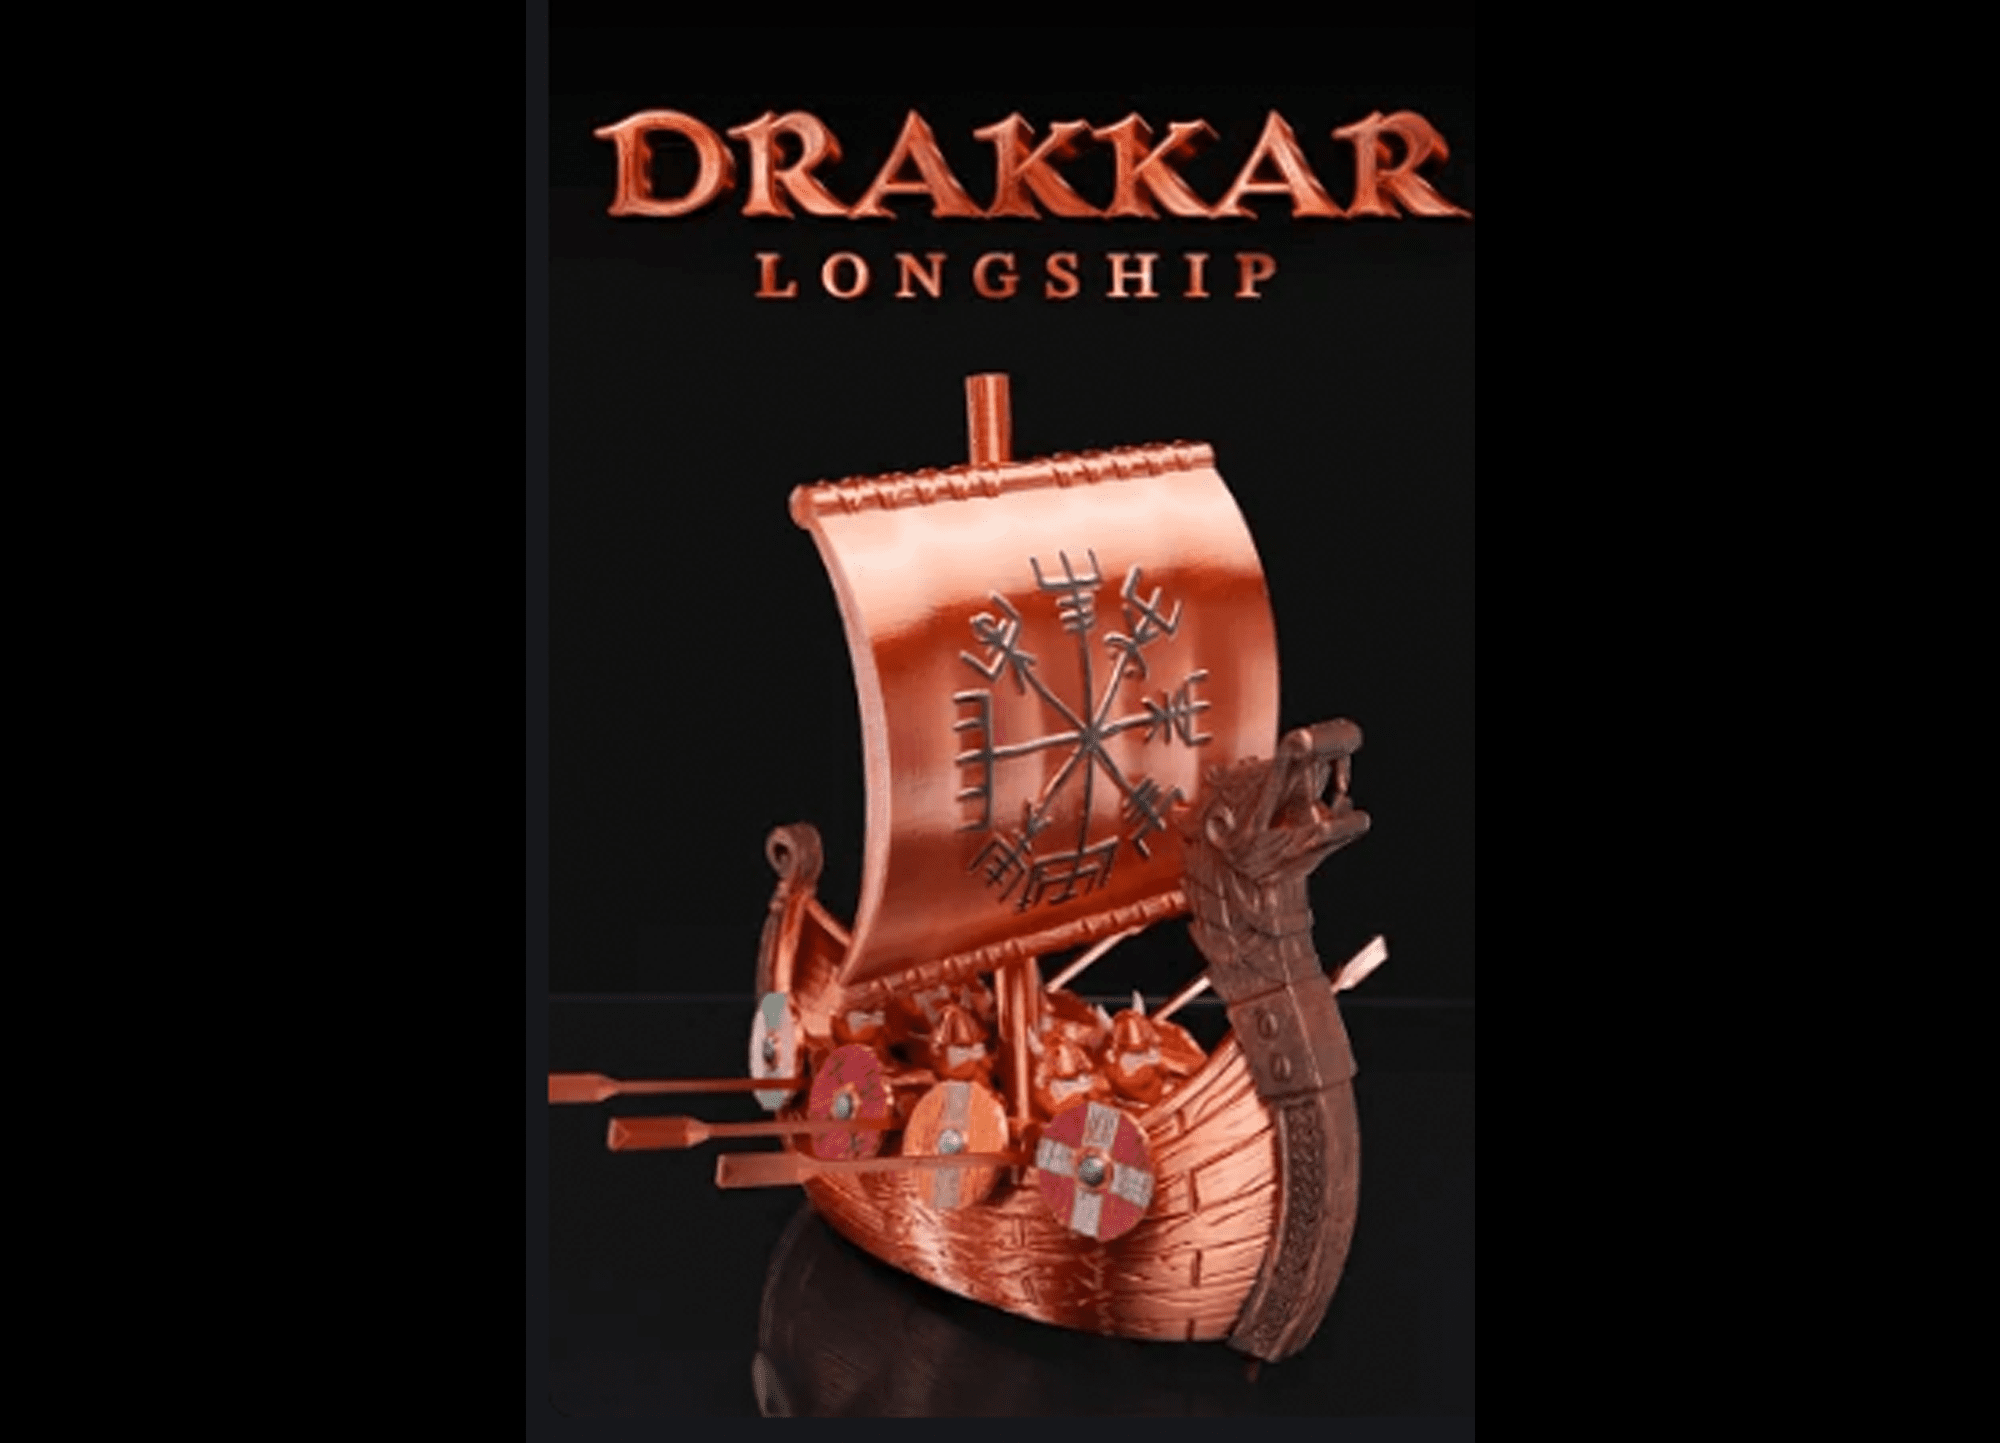
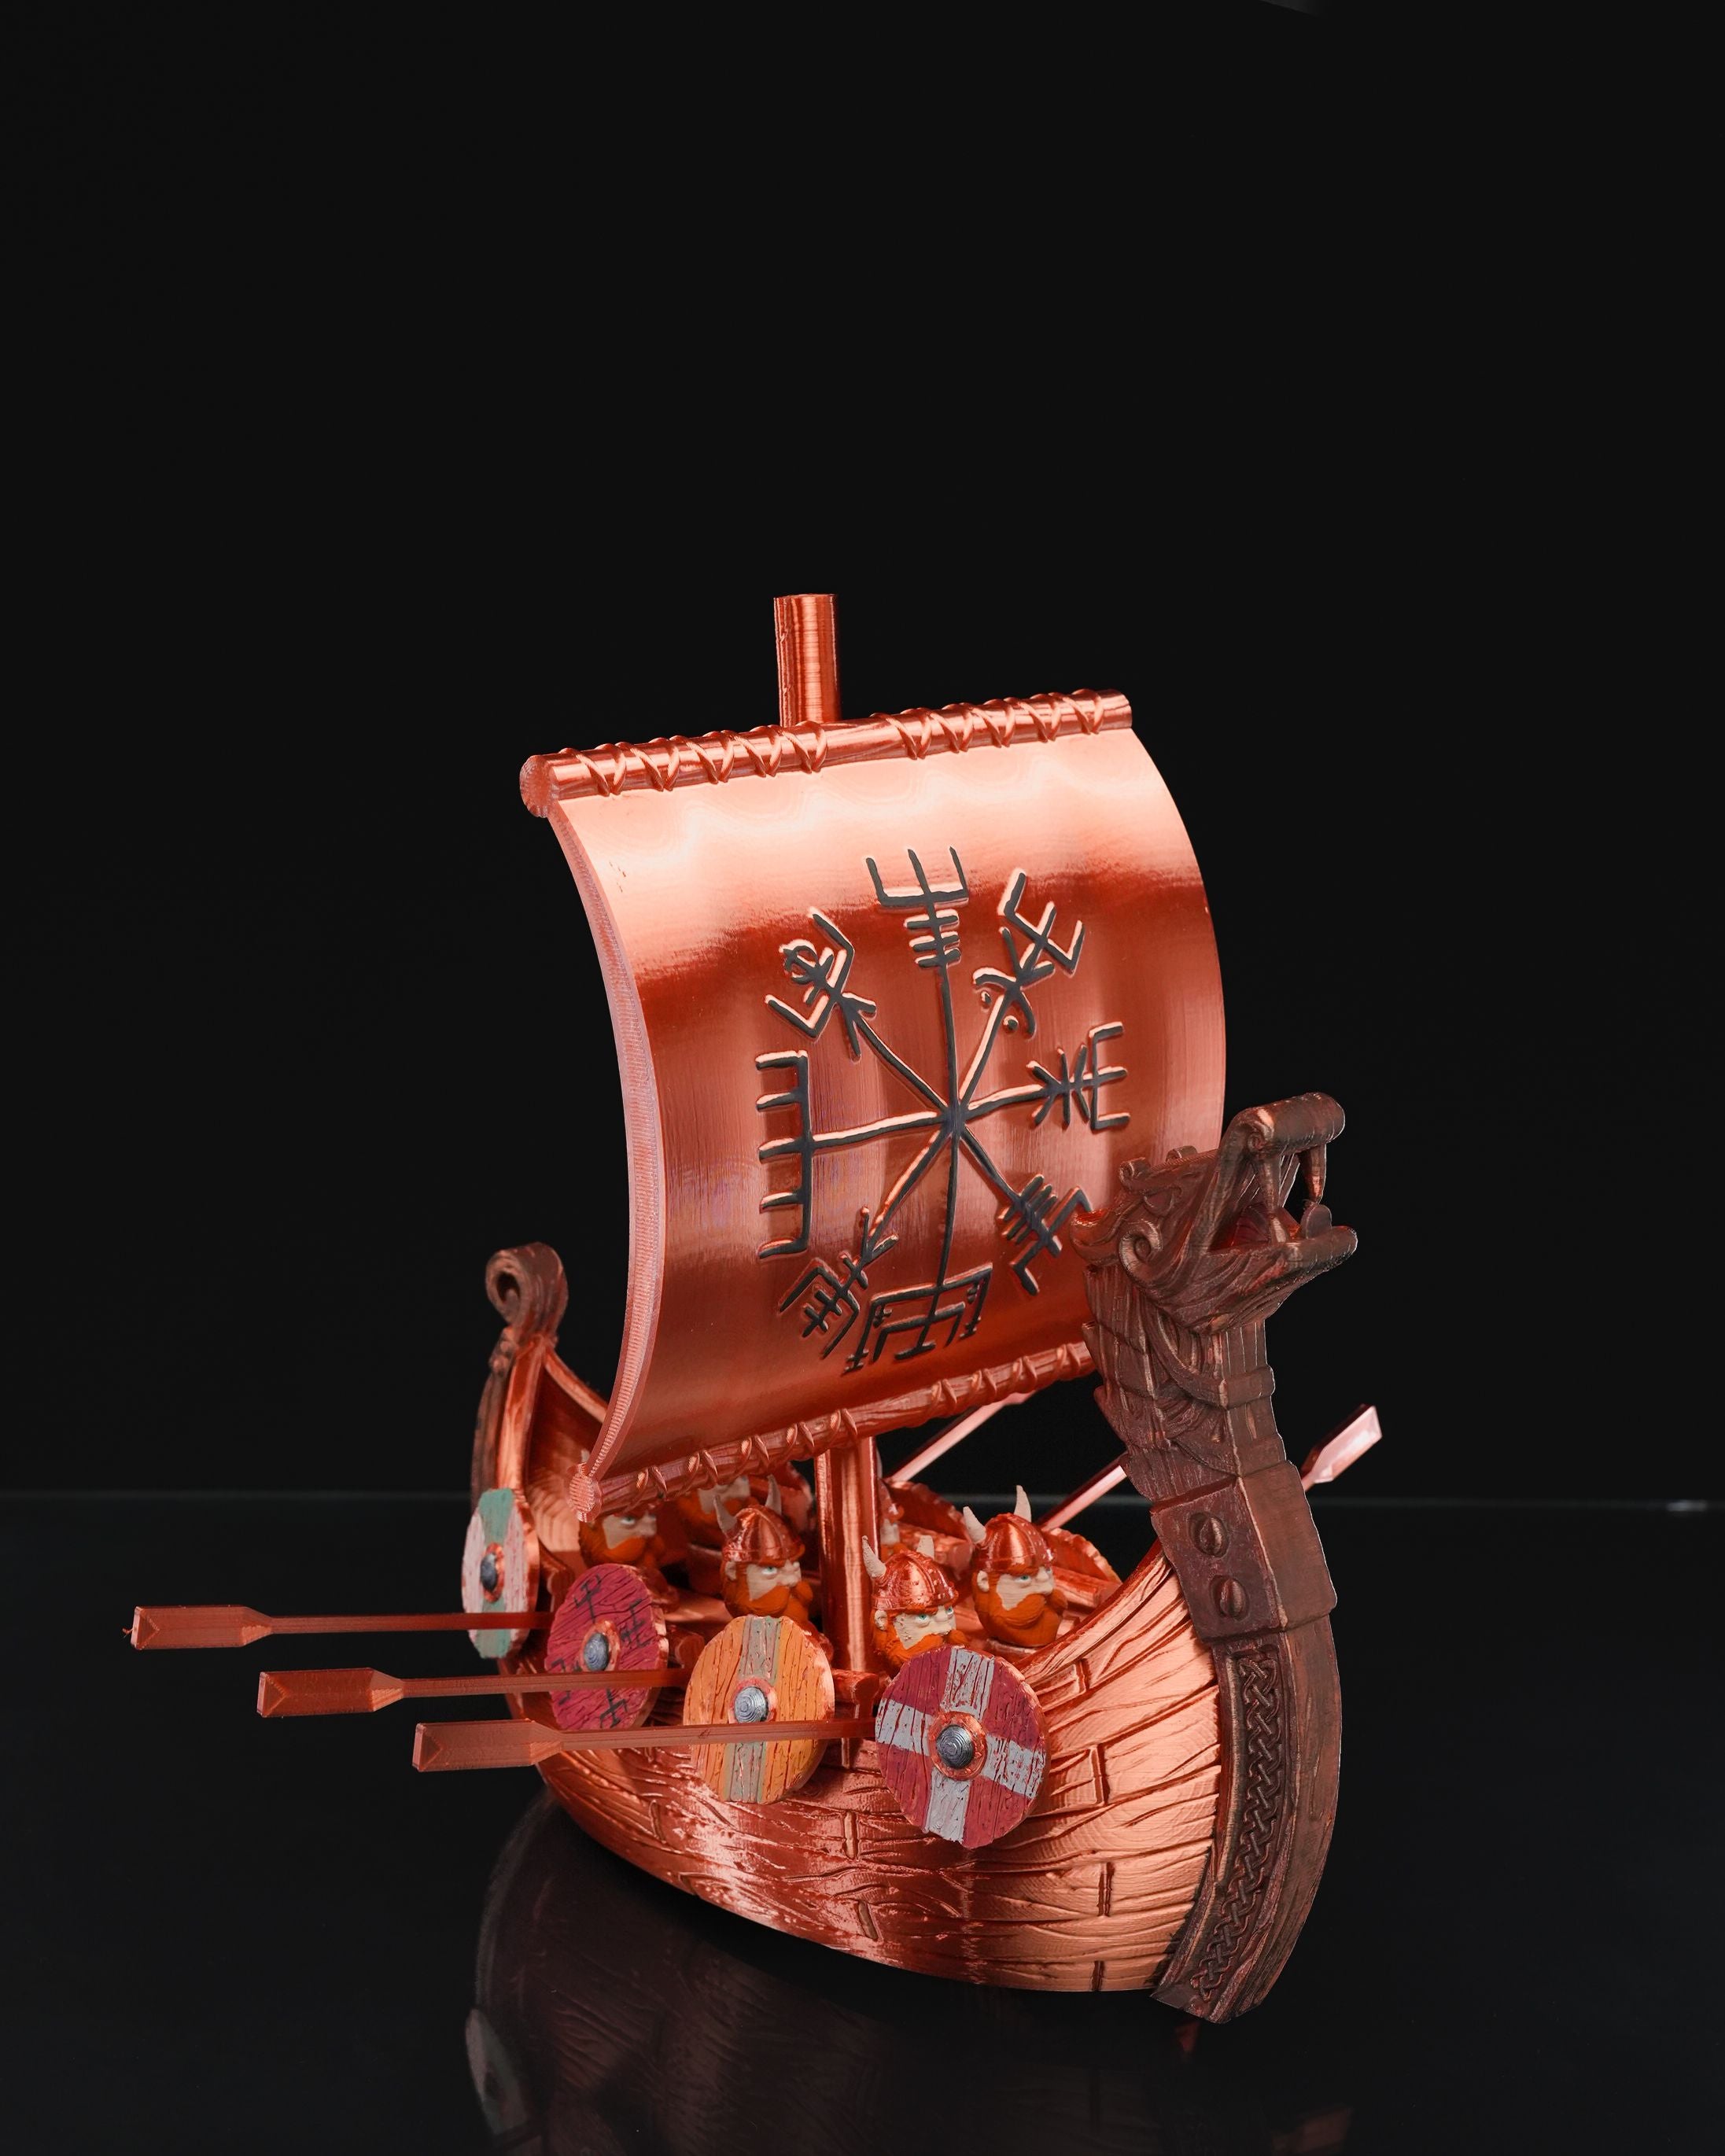
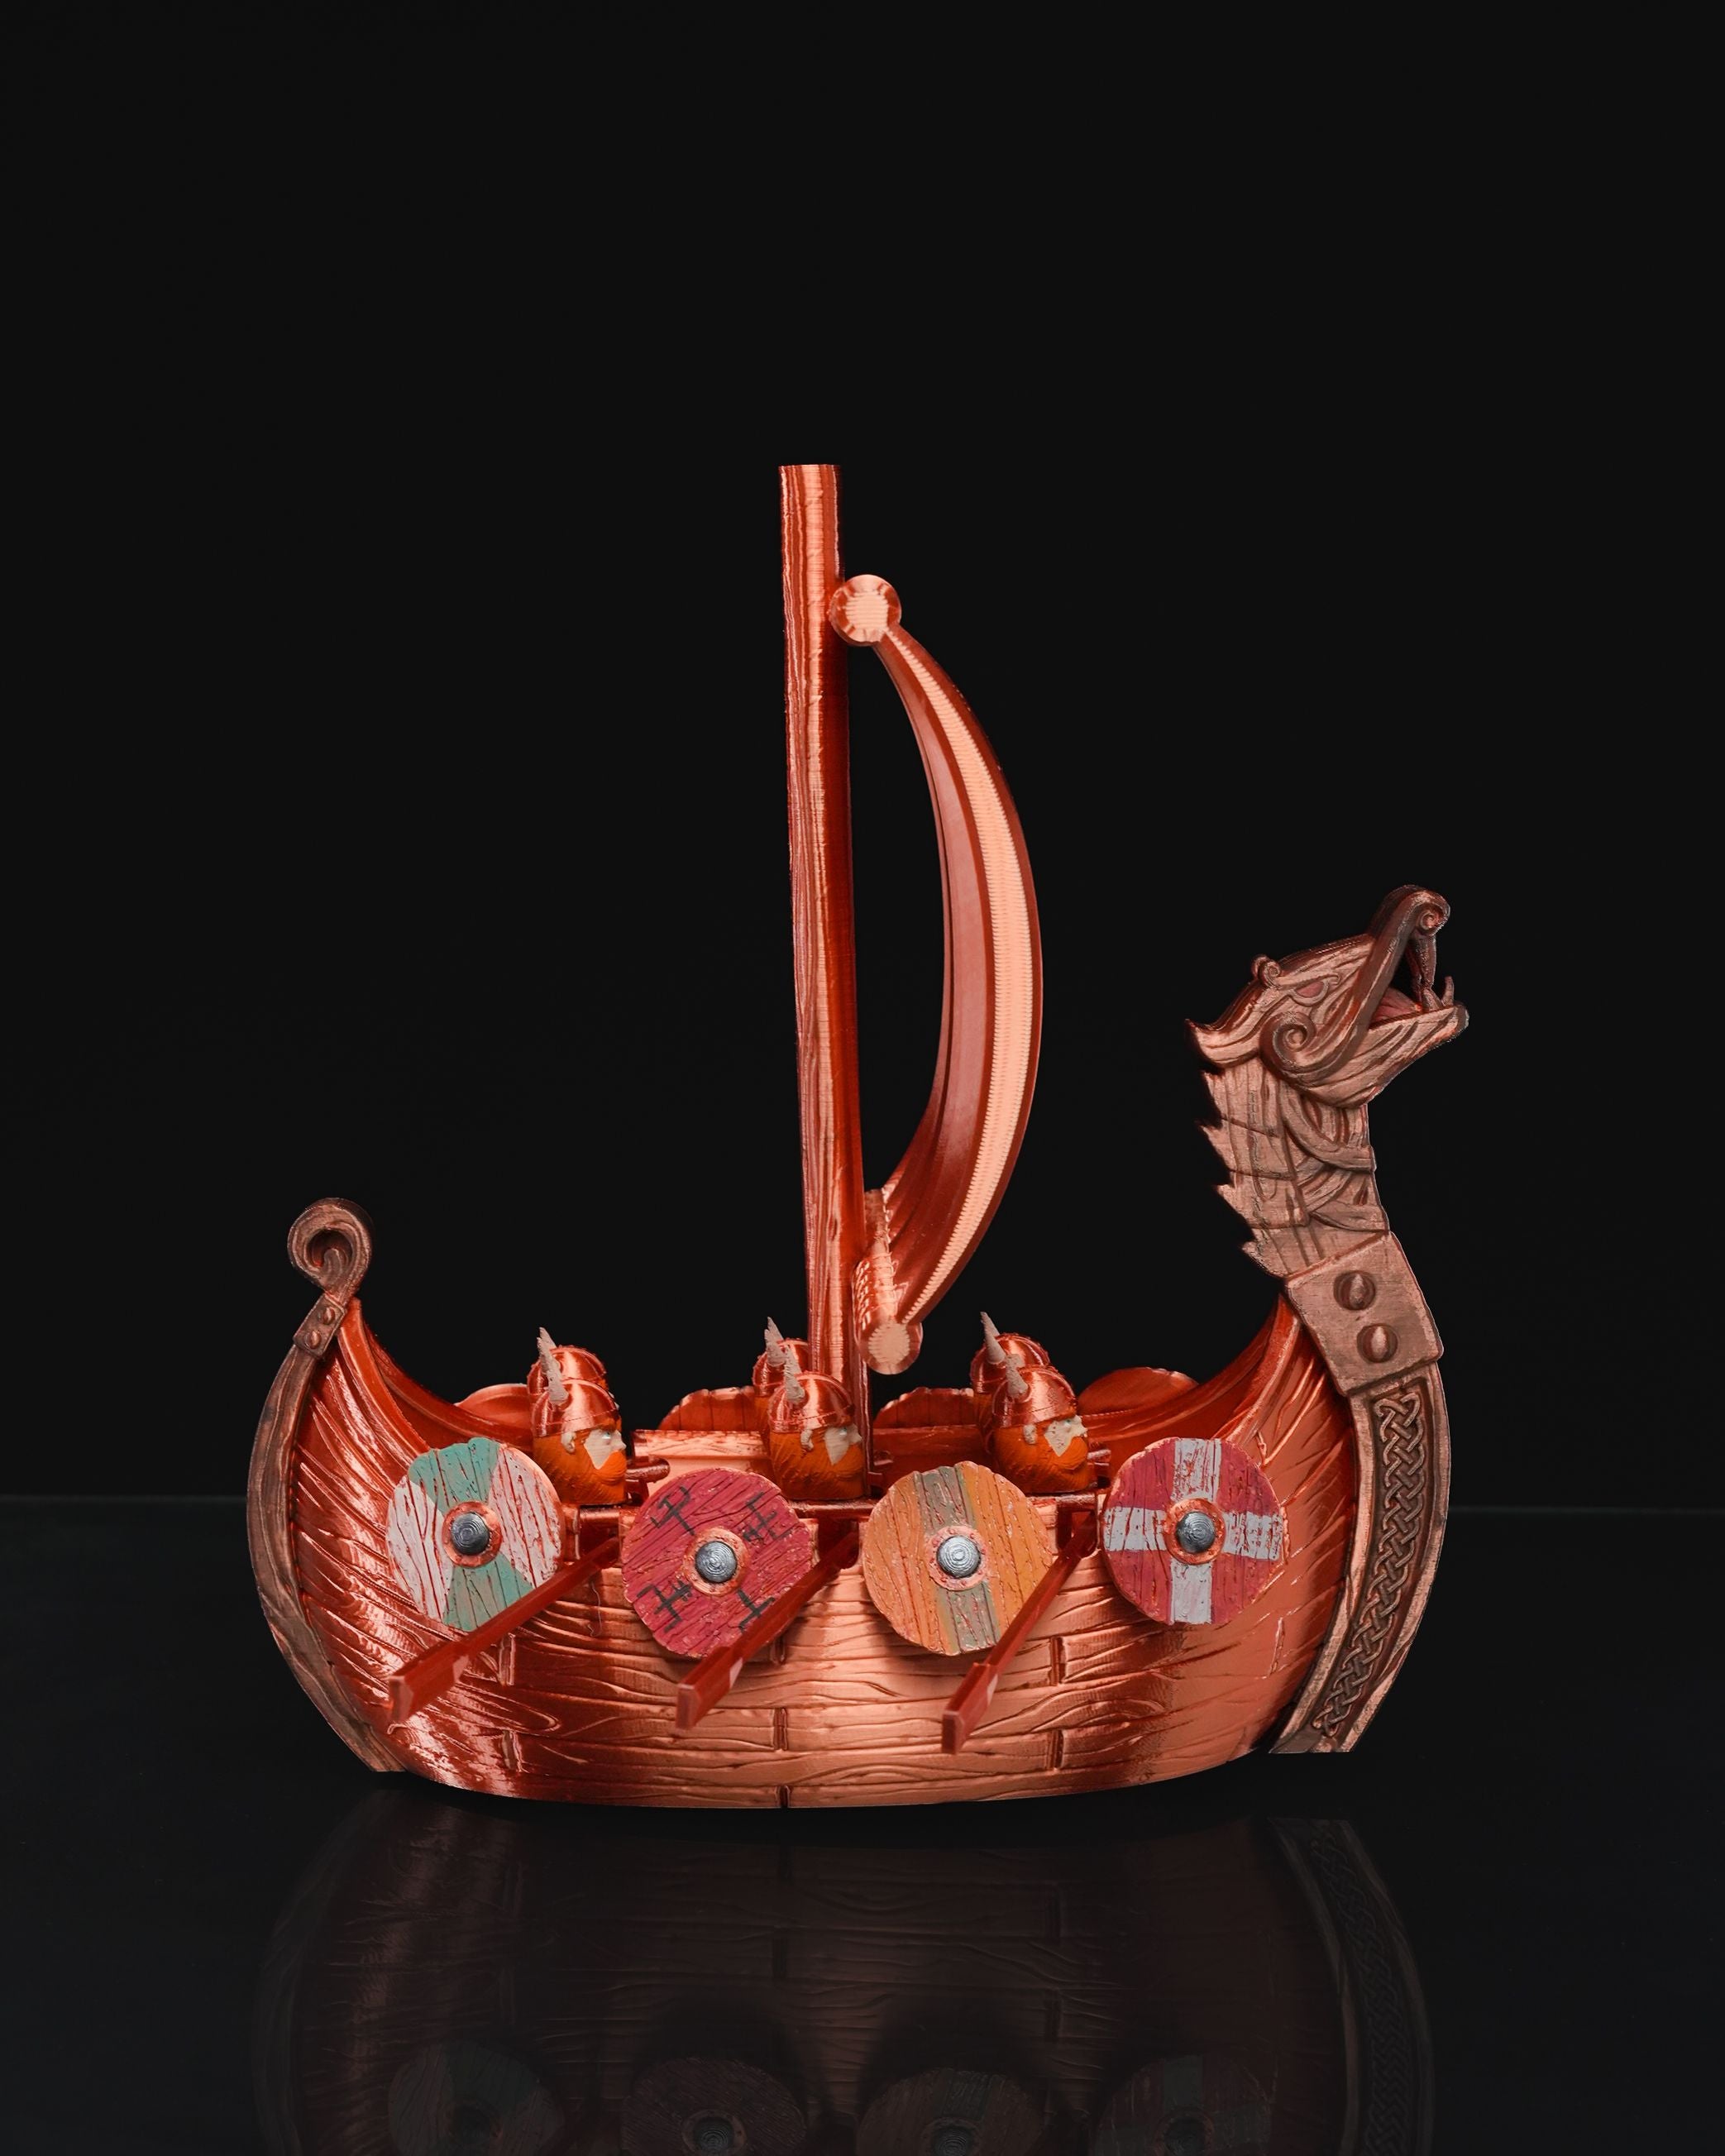
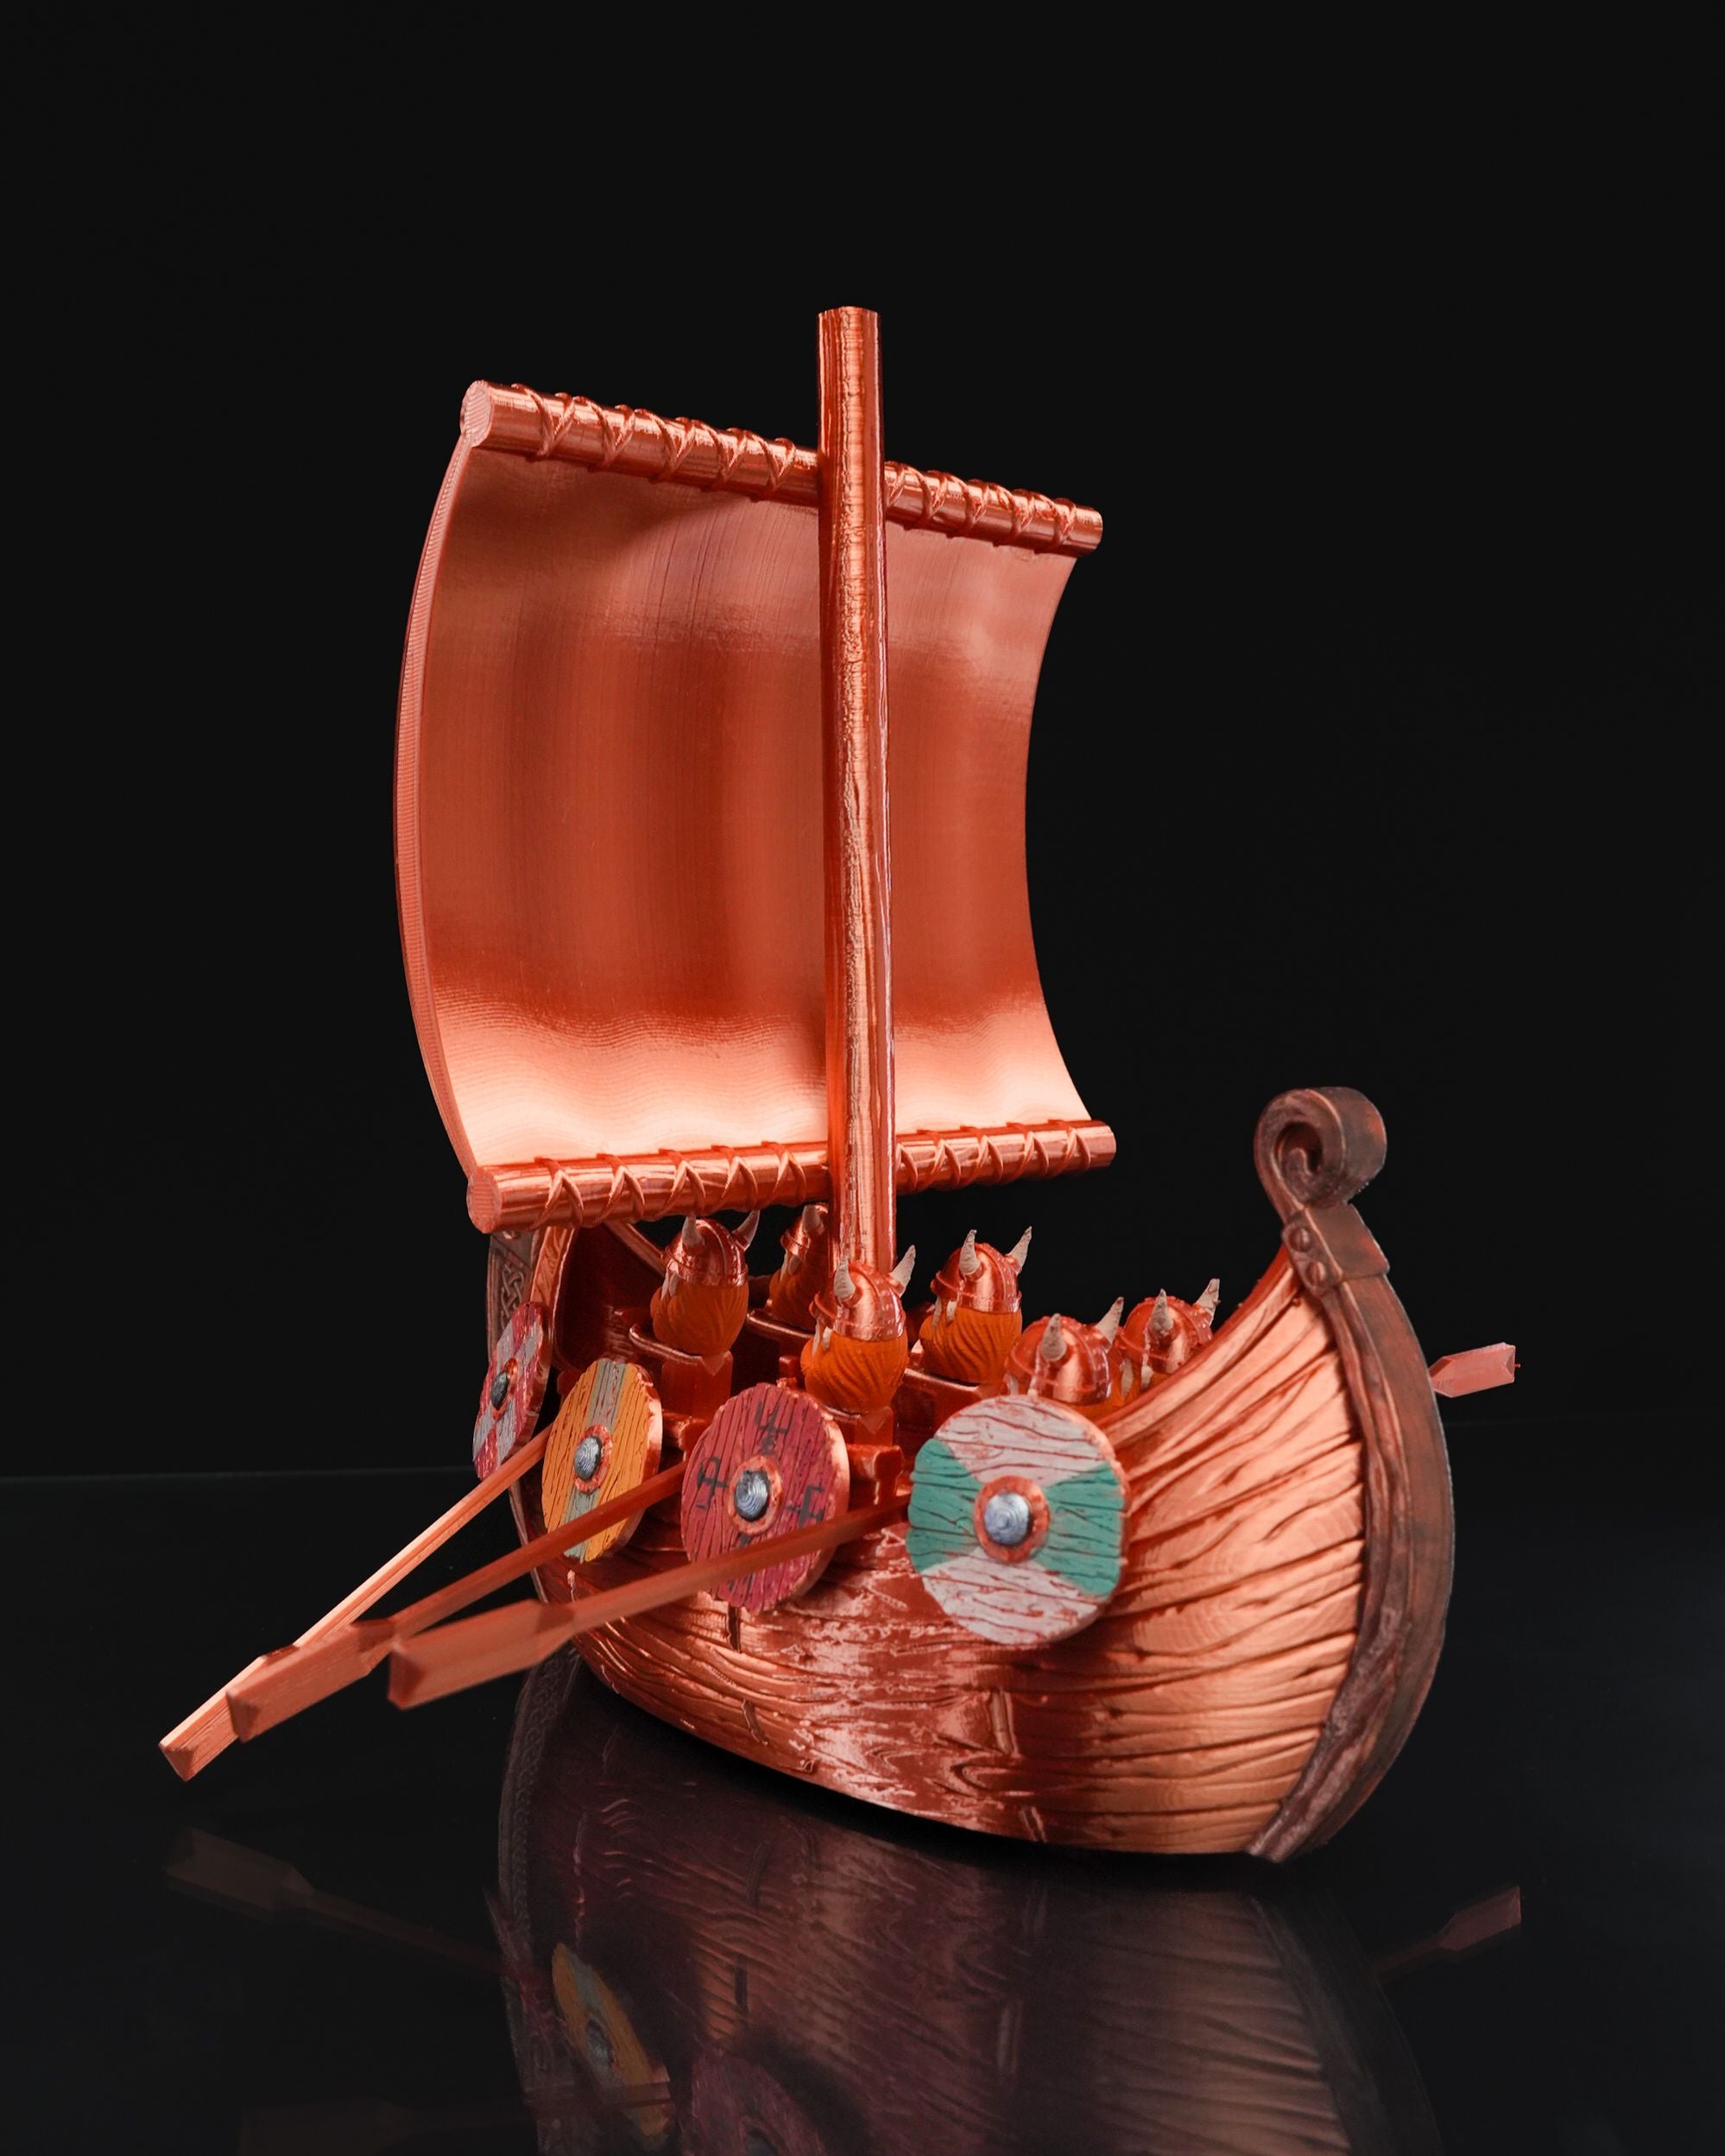
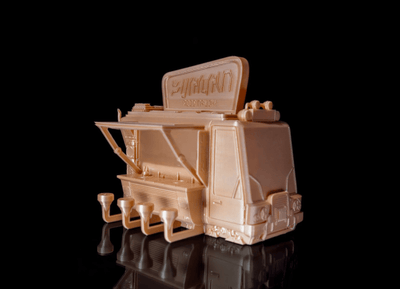
This majestic longship was made for exploring the unknown seas and unravelling the mysteries of the world. With a boat this size it might take a little while, though.
Follow these instructions for your longship assembly:
1. Find the markings indicated by numbers 1, 2, 3, and 4 on the Hull.
2. Position Wheel_01, Wheel_02, Wheel_03, and Wheel_04 on their respective markings on the Hull, along with two Clip_X2.
3. Attach Wheel_01 to a Clip_X2 with the numbered face facing towards you. Position the wheel, already attached to the clip, on the inside of the boat and attach Wheel_04 to it. Similarly, assemble the rear wheels, named Wheel_02 and Wheel_03, in the same manner.
4. Lay the Hull down, and you will find markings 1 and 2 where the respective wheels are already positioned. On this side, attach Beam_A_Side using the same approach for attaching Beam_B_Side on the side with wheels 3 and 4.
5. Set aside the three Viking_Body_A_Side_X3 and three Viking_Body_B_Side_X3 pieces. Attach the Viking_Body_A_Side_X3 pieces to Beam_A_Side, and proceed in the same way with the Viking_Body_B_Side pieces, attaching them to Beam_B_Side.
6. Attach the Cover to the Hull with the side that has a pin facing upward and the straight part pointing towards the bow.
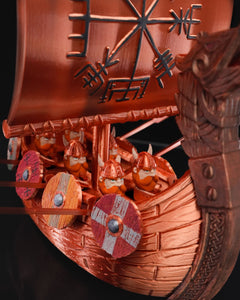
7. Insert the six Oar_X6 into the holes of Viking_Body_A_Side_X3 and Viking_Body_B_Side_X3.
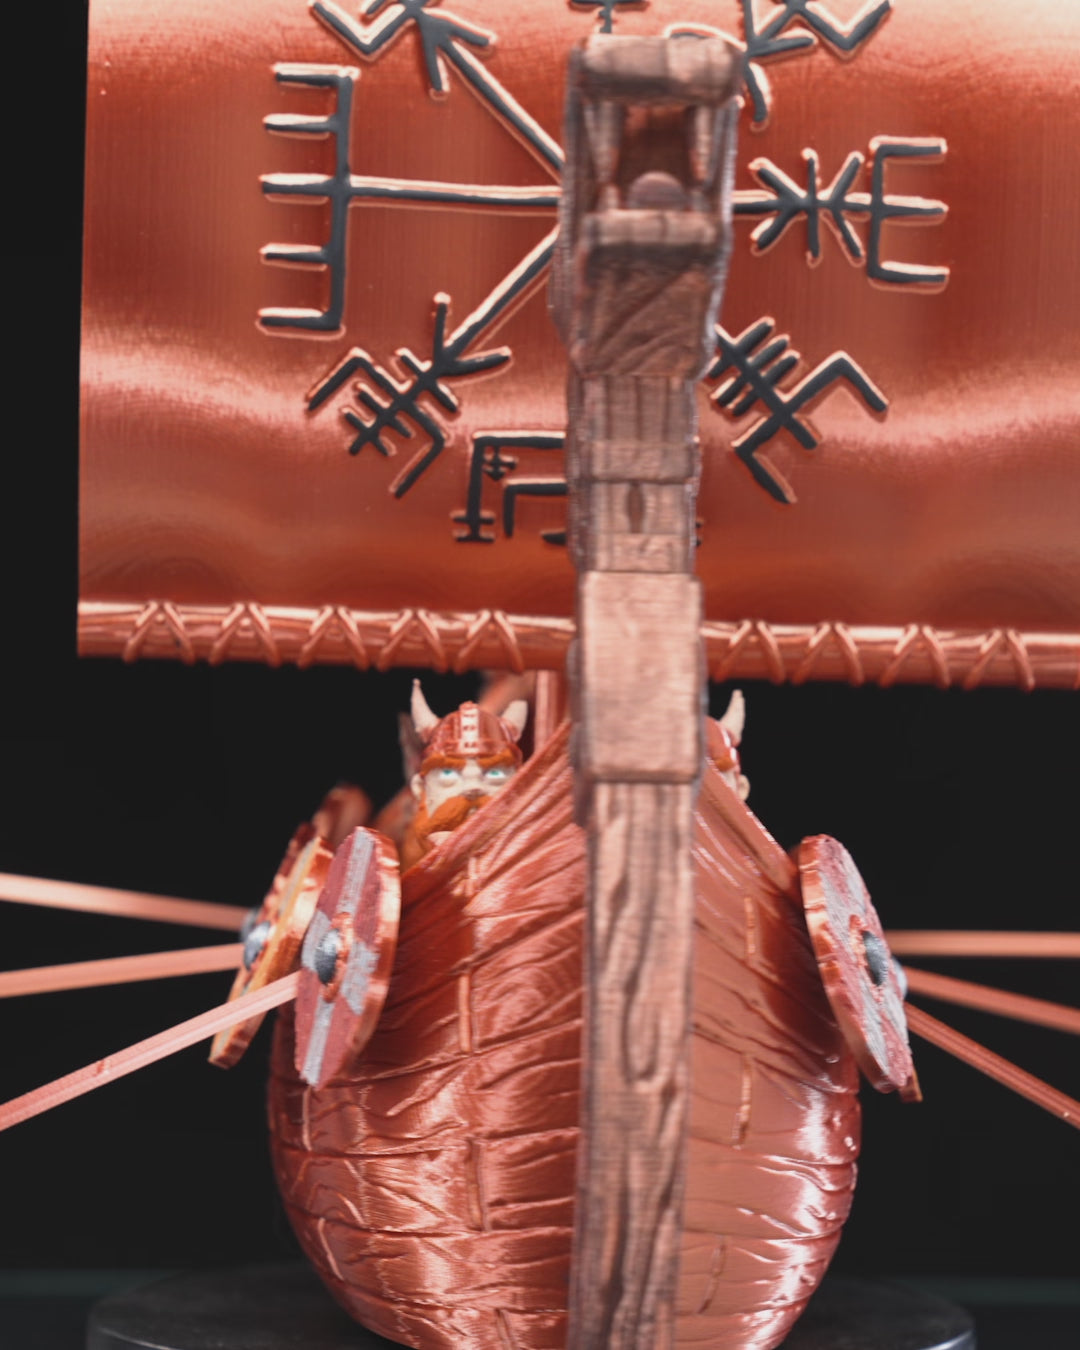
8. Glue the six Viking_Head_X6 onto Viking_Body_A_Side_X3 and Viking_Body_B_Side_X3.
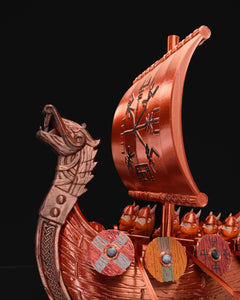
9. Glue the eight Shield_X8 on the sides of the Hull.
10. Finally, glue the Sail to the Pole, and attach the Pole to the central pin of the boat.
And off we go to see the world!
- This STL file is recommended for FDM Printers!
- Approximately Dimensions: 24 cm X 15 cm X 27cm
3D PRINT FILE SETTINGS (FOR 0.4 MM NOZZLE)
- Line Width/ Nozzle: 0.4 mm
- Average Speed: 20 mm/s (First Layer) / 50 mm/s (All the other layers)
- Recommended Initial Layer Height: 0.4 mm
- Recommended Layer Height: 0.16 mm
- Recommended Perimeters/ Walls: 3.
- Recommended Infill (%): 10% (Gyroid)
- Needs Support: No.
- Build Plate Adhesion: Skirt.
The parameters above are recommendations made by our staff; if you prefer, you can adapt them according to your preferences.
| Shipping | This item ships to |
Description
>>This is a DIGITAL DOWNLOAD | No product will be shipped | After checkout you will be provided the link to download your files. <<
File Type: STL and 3MF
3D MODEL DESCRIPTION
This majestic longship was made for exploring the unknown seas and unravelling the mysteries of the world. With a boat this size it might take a little while, though.
Follow these instructions for your longship assembly:
1. Find the markings indicated by numbers 1, 2, 3, and 4 on the Hull.
2. Position Wheel_01, Wheel_02, Wheel_03, and Wheel_04 on their respective markings on the Hull, along with two Clip_X2.
3. Attach Wheel_01 to a Clip_X2 with the numbered face facing towards you. Position the wheel, already attached to the clip, on the inside of the boat and attach Wheel_04 to it. Similarly, assemble the rear wheels, named Wheel_02 and Wheel_03, in the same manner.
4. Lay the Hull down, and you will find markings 1 and 2 where the respective wheels are already positioned. On this side, attach Beam_A_Side using the same approach for attaching Beam_B_Side on the side with wheels 3 and 4.
5. Set aside the three Viking_Body_A_Side_X3 and three Viking_Body_B_Side_X3 pieces. Attach the Viking_Body_A_Side_X3 pieces to Beam_A_Side, and proceed in the same way with the Viking_Body_B_Side pieces, attaching them to Beam_B_Side.
6. Attach the Cover to the Hull with the side that has a pin facing upward and the straight part pointing towards the bow.
7. Insert the six Oar_X6 into the holes of Viking_Body_A_Side_X3 and Viking_Body_B_Side_X3.
8. Glue the six Viking_Head_X6 onto Viking_Body_A_Side_X3 and Viking_Body_B_Side_X3.
9. Glue the eight Shield_X8 on the sides of the Hull.
10. Finally, glue the Sail to the Pole, and attach the Pole to the central pin of the boat.
And off we go to see the world!
- This STL file is recommended for FDM Printers!
- Approximately Dimensions: 24 cm X 15 cm X 27cm
3D PRINT FILE SETTINGS (FOR 0.4 MM NOZZLE)
- Line Width/ Nozzle: 0.4 mm
- Average Speed: 20 mm/s (First Layer) / 50 mm/s (All the other layers)
- Recommended Initial Layer Height: 0.4 mm
- Recommended Layer Height: 0.16 mm
- Recommended Perimeters/ Walls: 3.
- Recommended Infill (%): 10% (Gyroid)
- Needs Support: No.
- Build Plate Adhesion: Skirt.
The parameters above are recommendations made by our staff; if you prefer, you can adapt them according to your preferences.
Shipping
| Shipping | This item ships to |


Related Products